- Home
-
Products
Featured Product

Elite Garden Room
Price From£11,333.00Browse Garden rooms
Garden rooms By Size
- 10 x 6
- 12 x 6
- 10 x 8
- 14 x 6
- 16 x 6
- 12 x 8
- 14 x 8
- 12 x 10
- 16 x 8
- 14 x 10
- 12 x 12
- 16 x 10
- 14 x 12
- 18 x 10
- 16 x 12
- 20 x 10
- 22 x 10
- 24 x 10
- 26 x 10
- 22 x 12
- 28 x 10
- 24 x 12
- 30 x 10
- 26 x 12
- 28 x 12
- 30 x 12
- 40 x 10
- 40 x 12
- 20 x 12
- 3.5m x 3m
- 7m x 4m
- 6m x 4m
- 5m x 4m
- 8m x 3.5m
- 7m x 3.5m
- 6m x 3.5m
- 5m x 3.5m
- 4m x 3.5m
- 3.5m x 3.5m
- 6m x 3m
- 5m x 3m
- 4m x 3m
- 3m x 3m
- 2m x 2m
- 6m x 2.5m
- 5m x 2.5m
- 4m x 2.5m
- 3.5m x 2.5m
- 3m x 2.5m
- 6m x 2m
- 5m x 2m
- 4.5m x 2m
- 4m x 2m
- 3.5m x 2m
- 3m x 2m
- 2.5m x 2m
- 8m x 4m
Garden rooms By Price
Featured Product

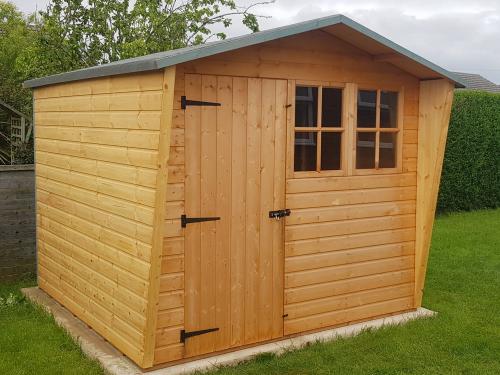
Premium Apex Shed
Price From£575.00Browse Garden Sheds
Garden Sheds By Size
- 5 x 3
- 6 x 3
- 5 x 4
- 7 x 3
- 8 x 3
- 6 x 4
- 7 x 5
- 6 x 6
- 8 x 5
- 8 x 6
- 10 x 5
- 9 x 6
- 12 x 5
- 10 x 6
- 8 x 8
- 12 x 6
- 10 x 8
- 12 x 8
- 10 x 10
- 14 x 8
- 12 x 10
- 16 x 8
- 14 x 10
- 12 x 12
- 16 x 10
- 14 x 12
- 18 x 10
- 16 x 12
- 20 x 10
- 18 x 12
- 22 x 10
- 16 x 14
- 24 x 10
- 20 x 12
- 18 x 14
- 26 x 10
- 22 x 12
- 20 x 14
- 24 x 12
- 30 x 10
- 22 x 14
- 26 x 12
- 28 x 12
- 24 x 14
- 30 x 12
- 26 x 14
- 28 x 14
Garden Sheds By Price
Featured Product
Sunrise Wing Cabin
Price From£955.00Browse Summer Houses
Summer Houses By Size
Summer Houses By Price
Featured Product
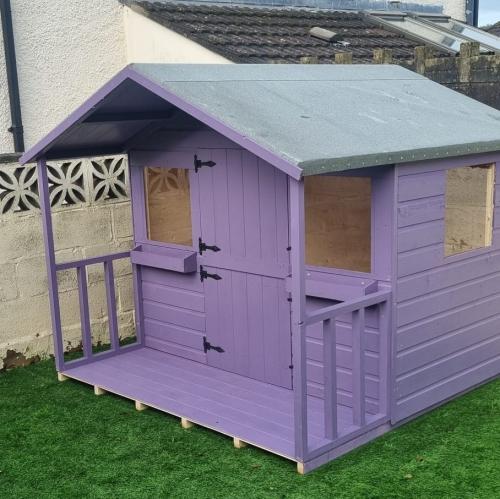
Daisy Playhouse inc 2ft Porch
Price From£600.00Browse Playhouses
Playhouses By Price
- #Spring Sale#
- Gallery
- About Us
- Product Information
- Contact Us
- Tel01902 229614
- E-Mailinfo@kncgardenrooms.co.uk